Why Scan Book Pages?
Physical books are wonderful, but their text is trapped on paper. Scanning and converting book pages to digital text unlocks powerful capabilities:
- Search — Find any passage instantly by keyword
- Quote — Copy exact quotes for essays, papers, and presentations
- Annotate — Add highlights and notes to digital text
- Share — Send specific passages to classmates or reading groups
- Preserve — Create digital backups of rare or aging books
How to Photograph Book Pages (The Right Way)
Book scanning has unique challenges — curved pages, gutter shadows, and inconsistent lighting. Here's how to handle each:
Flatten the Page
The biggest challenge with books is the curved surface near the spine:
- Press the book flat against a table with your hand
- For thick books, photograph one page at a time rather than a two-page spread
- Consider placing a transparent weight (like a sheet of glass or acrylic) on the page to keep it flat
- If the text near the spine is curving away, it may not be readable — focus on the flat portions
Get the Lighting Right
- Use natural light from a window — position the book so light falls evenly across the page
- Avoid direct overhead light — it creates a shadow from your phone
- If using artificial light, use two light sources on either side to eliminate shadows
- Never use camera flash — it creates a harsh bright spot
Camera Position
- Hold your phone directly above the page, looking straight down
- Enable your camera's grid overlay to help align the text horizontally
- Get close enough that the text fills the frame but all edges are visible
- Keep the phone parallel to the page — tilting causes perspective distortion
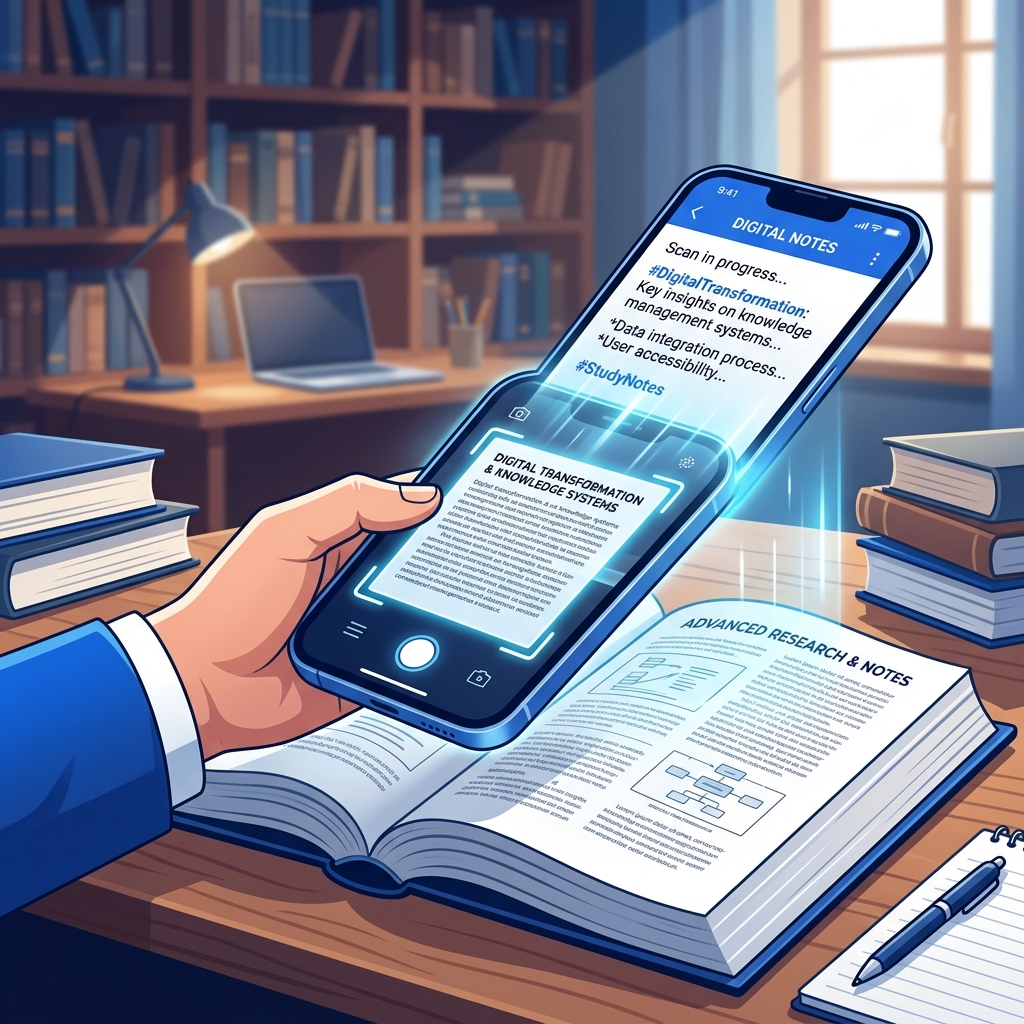
Step-by-Step Book Scanning Process
Step 1: Prepare Your Book
- Open to the desired page
- Flatten as much as possible
- Ensure good, even lighting
Step 2: Take the Photo
- Position your phone directly above
- Focus on the text area
- Take the shot — check that it's sharp and well-lit
Step 3: Upload to Book Page Scanner
- Open Book Page Scanner
- Upload your photo
- Select the language of the book
- Click "Convert to Text"
Step 4: Review and Save
- Copy the extracted text
- Proofread for any OCR errors (especially near the spine where text may curve)
- Paste into your preferred note-taking app
Scanning Multiple Pages Efficiently
For scanning entire chapters or sections:
- Set up a scanning station — consistent lighting position, flat surface
- Use a rhythm — flip page, press flat, photograph, repeat
- Process in batches — take all photos first, then OCR them one by one
- Name your files — use a naming convention like
chapter3_page42.jpg
A comfortable pace is about 2-3 pages per minute for photography, plus a few seconds each for OCR processing.
Tips for Different Book Types
Textbooks
- Focus on key paragraphs rather than entire pages
- Photograph diagrams separately as image references
- OCR handles printed textbook fonts with 95%+ accuracy
Paperback Novels
- Easy to flatten — pages are flexible
- Small font sizes are common — get close for better resolution
- Process one page at a time for best results
Hardcover / Library Books
- Don't force the book open past its natural angle
- Photograph one page at a time rather than two-page spreads
- Be gentle with older or rare books
Old or Yellowed Books
- Increase contrast in your photo editor before OCR
- Use black-and-white mode if available
- Expect slightly lower accuracy with aged, faded text
Where to Store Your Digital Book Notes
| Platform | Best For |
|---|---|
| Google Docs | Searchable text, easy sharing |
| Notion | Organized databases, linked notes |
| Evernote | Searchable notebook library |
| Obsidian | Connected knowledge graph |
| Plain text files | Maximum portability and simplicity |
Copyright Reminder
Scanning book pages for personal study, research, and fair-use purposes is generally acceptable. However, scanning and distributing entire copyrighted books is not. Use OCR responsibly for personal reference and education.
Start Scanning
Try our Book Page Scanner — it's optimized for book photography and handles curved text, yellowed pages, and small fonts better than generic OCR tools. Free, private, and instant.