Why Scan Your Receipts?
Paper receipts fade, get crumpled, and disappear when you need them most — like during tax season. Scanning receipts and extracting the text gives you a permanent, searchable digital record of every purchase.
Whether you're a freelancer tracking business expenses, a small business owner organizing bookkeeping, or just someone who wants to keep better financial records, receipt scanning with OCR is the fastest way to go paperless.
How to Scan a Receipt (Step by Step)
Step 1: Take a Clear Photo
Place the receipt on a flat, well-lit surface. Hold your phone directly above it and take a photo. Make sure:
- The entire receipt is visible in the frame
- There are no shadows crossing the text
- The image is in focus (tap on the receipt to focus before shooting)
Step 2: Upload to Receipt Scanner
Open our Receipt Scanner tool and upload the photo. The OCR engine will process it right in your browser — your receipt image never leaves your device.
Step 3: Copy the Extracted Text
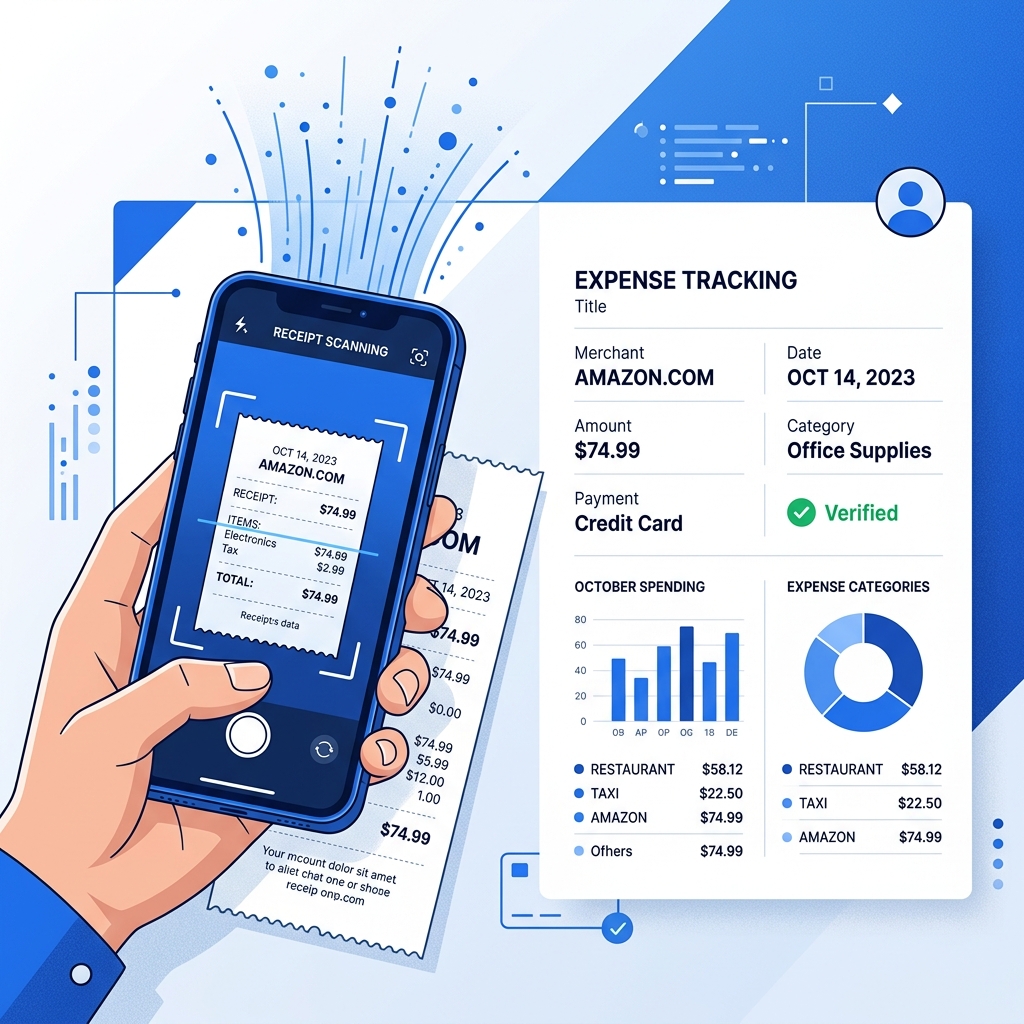
Within seconds, you'll see all the text from the receipt: store name, date, items, prices, totals, and tax information. Click "Copy" to copy everything to your clipboard.
Step 4: Organize in Your Tracking System
Paste the extracted text into your preferred system:
- Spreadsheet — Google Sheets or Excel for manual tracking
- Expense app — Expensify, QuickBooks, Wave
- Notes app — Notion, Evernote, Apple Notes
- Folder system — Save the text file alongside the receipt photo
What Information OCR Extracts from Receipts
A typical receipt scan captures:
| Data Point | Example |
|---|---|
| Store name | "WALMART SUPERCENTER" |
| Address | "123 Main St, City, State" |
| Date & time | "05/15/2025 2:34 PM" |
| Items purchased | "MILK 2% GAL - $3.49" |
| Subtotal | "SUBTOTAL: $47.83" |
| Tax | "TAX: $3.83" |
| Total | "TOTAL: $51.66" |
| Payment method | "VISA ****1234" |
Tips for Better Receipt Scanning
- Scan immediately — thermal receipt paper fades quickly; scan within days of purchase
- Flatten the receipt — smooth out wrinkles and folds before photographing
- Use good contrast — place white receipts on a dark surface
- Avoid glare — turn off the flash; use natural or ambient light
- Crop tightly — remove background clutter for cleaner OCR results
For Different Receipt Types
Retail Receipts
Standard thermal paper receipts from stores. Usually have clean, printed text that OCR handles very well. Use Receipt Scanner.
Restaurant Receipts
Often include handwritten tips and signatures. For the printed portion, OCR works great. For handwritten amounts, try Handwriting to Text.
Digital / Email Receipts
If you receive a receipt as an image in email (not a PDF), take a screenshot and use Screenshot to Text to extract the text.
Privacy Considerations
Financial documents are sensitive. That's why our receipt scanner processes everything locally in your browser. Your receipt images:
- ❌ Are NOT uploaded to any server
- ❌ Are NOT stored anywhere
- ❌ Are NOT shared with anyone
- ✅ Stay 100% on your device
Start Scanning Your Receipts
Ready to go paperless? Try our Receipt Scanner — it's free, private, and works instantly on any device. No app to download, no account to create.